I may earn a commission at no extra cost to you. #ad
Free Troubleshooting Guide: How to Revive Deflated Foamy Slime
Jump to Section
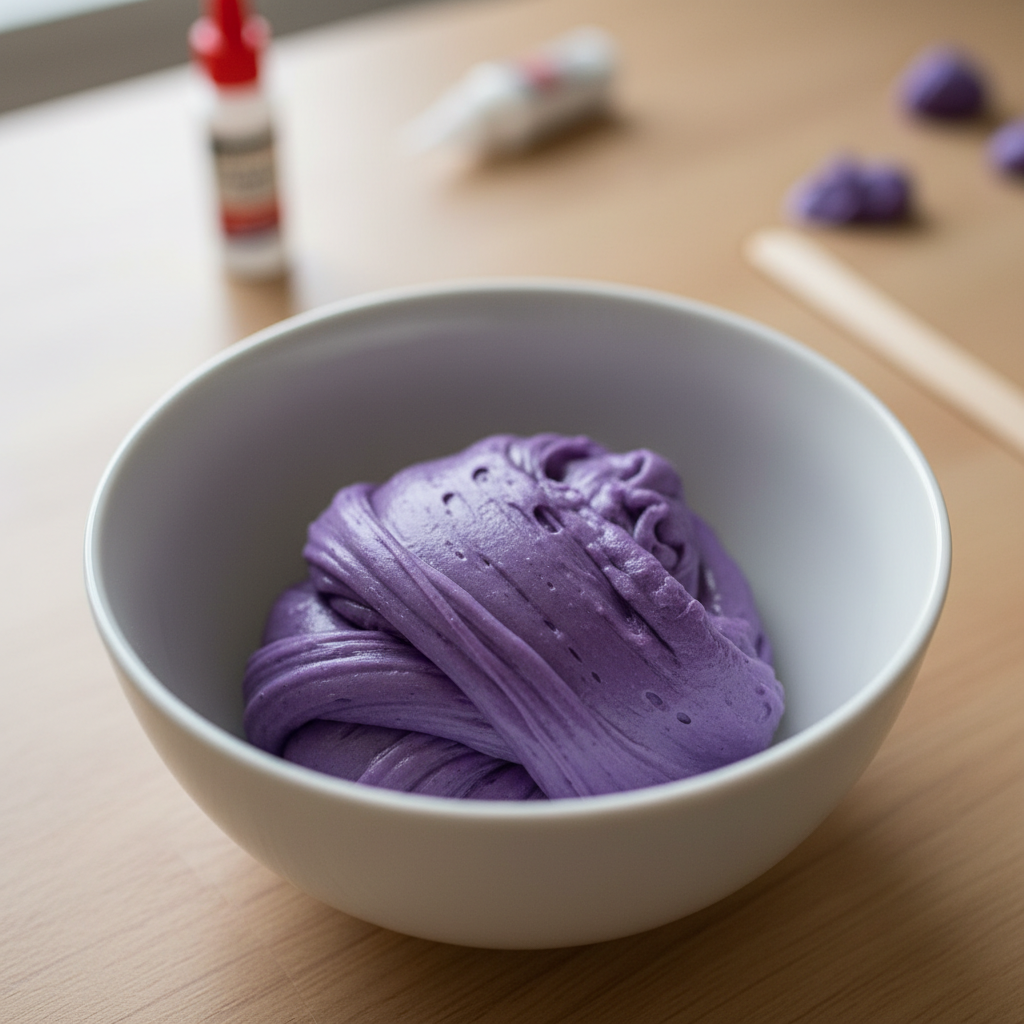
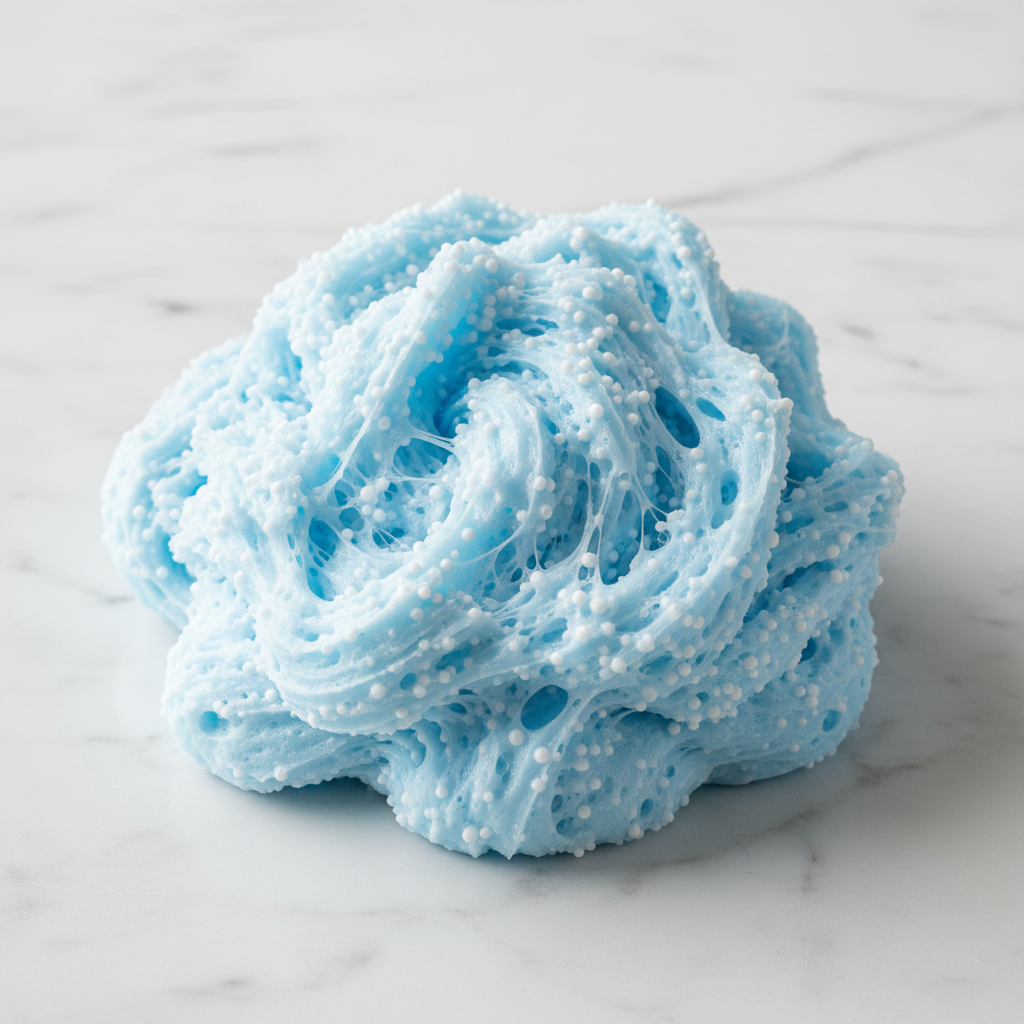
There is nothing quite as satisfying as the initial "crunch" and "poof" of a freshly made batch of foamy slime. Whether it is a cloud slime, a floam, or a fluffy shaving cream masterpiece, that airy texture is the gold standard for slime enthusiasts. However, if you’ve been in the hobby for more than a week, you’ve likely experienced the heartbreak of opening your container only to find a flat, dense, or sticky puddle where your cloud used to be.
Don’t throw it away! Deflation is a natural chemical and physical process, and in almost every case, your foamy friend can be brought back to life. This guide will walk you through the science of slime deflation and provide professional-grade troubleshooting steps to restore your slime to its former glory.
Why Does Foamy Slime Deflate?
To fix the problem, we first have to understand why it happens. Foamy slime relies on trapped air bubbles to give it volume. When you add shaving foam or whip air into the glue mixture, you are creating a foam structure. Over time, several factors cause this structure to collapse:
- Gas Escape: The air bubbles trapped in the shaving cream are not permanent. Over time, the air molecules escape the polymer chains of the glue, causing the slime to "sink."
- Dehydration: Slime is mostly water. As water evaporates, the slime becomes denser and less flexible, leading to a loss of fluffiness.
- Gravity: Especially in floam (slime with foam beads), the weight of the beads can eventually press the air out of the base if left sitting for too long.
- Chemical Breakdown: The activator (borax or saline) can slowly break down the PVA glue bonds over weeks, resulting in a "melted" or liquid-like consistency.
Signs Your Slime Needs Rescue
Not all slime issues are caused by deflation. Before you start adding ingredients, diagnose your slime's condition:
- The "Pancake" Effect: If your slime has lost 50% or more of its original height in the container, it has deflated.
- Hardness/Rubberiness: If the slime is difficult to stretch and feels like a rubber ball, it is dehydrated or over-activated.
- Stickiness: If it leaves a residue on your hands or sticks to the container like glue, the activator has weakened.
- Loss of Sizzle: If you squeeze it and don't hear those satisfying pops, the air pockets are gone.
Essential Tools for Slime Revival
Before you begin the revival process, gather these supplies. Having them ready prevents you from making a mess while your hands are covered in slime:
- Fresh Shaving Foam: This is the primary "fluffing" agent. Use foam, not gel.
- Slime Activator: A weak solution of Borax and water, or contact lens solution (ensure it contains boric acid).
- Warm Water: To help soften the polymers if the slime has become too hard.
- Lotion: A small amount of hand lotion can add stretchiness back to a rubbery base.
- A Large Mixing Bowl: Reviving slime is much messier than playing with it.
Step-by-Step Guide to Restoring Volume
If your slime is simply flat but still has a decent stretch, follow these steps to pump the air back in:
Step 1: The Warm Water Bath. Place your slime in a bowl and add 1-2 tablespoons of warm water. Knead it thoroughly. This "wakes up" the glue molecules and makes the slime more receptive to new ingredients.
Step 2: Re-Foaming. Add a generous dollop of shaving cream to the center of the slime. Fold the slime over the foam and begin kneading. It will look like a mess at first, but keep going. The slime will eventually absorb the foam and begin to grow in size.
Step 3: Re-Activating. Because shaving cream contains ingredients that can soften slime, your mixture might become sticky. Add a few drops of activator and knead until it pulls away from the sides of the bowl easily.
Step 4: The Air Injection. Once the foam is incorporated, stretch the slime out long and fold it over itself repeatedly. This "lamination" technique traps new air bubbles between the layers, maximizing the foamy texture.
How to Fix Sticky and Melted Foamy Slime
Sometimes foamy slime doesn't just deflate; it turns into a sticky, goopy mess. This often happens in warmer climates or if the slime hasn't been played with in a long time.
To fix "melted" foamy slime, do not just dump activator into the container. Instead, pour a small amount of activator into your hands first. This allows you to handle the slime without it sticking to you instantly. Gradually work the activator into the puddle. If the foam beads have started to fall out (in the case of floam), you may need to add a teaspoon of clear or white glue to give the beads something to grab onto before re-activating.
Preventative Care for Long-Lasting Slime
You can't stop the laws of physics, but you can slow them down! Use these tips to keep your foamy slime fluffy for as long as possible:
- Airtight Storage: This is non-negotiable. Use a container that is just slightly larger than the slime itself to minimize the amount of "dead air" in the jar.
- Keep it Cool: Heat accelerates the breakdown of slime. Store your slime in a cool, dark place (even the fridge can work for some textures!).
- Clean Hands: Bacteria and oils from your hands break down the chemical bonds in the slime. Always wash your hands before and after play.
- Regular "Aeration": Play with your slime every 2-3 days. The act of stretching and folding keeps the air bubbles distributed and prevents the mixture from settling into a dense block.
Frequently Asked Questions
A: Unfortunately, no. Once slime has completely dehydrated into a hard, plastic-like state, the chemical bonds have set permanently. It is better to start fresh with a new recipe.
A: This happens if you over-knead or if the shaving cream was old. Ensure you are using fresh foam and stop kneading once the volume has peaked.
A: Yes, as long as the solution contains boric acid or sodium borate. Check the ingredient label before using!