I may earn a commission at no extra cost to you. #ad
Scented Marshmallow Foam Slime: The Ultimate DIY Guide
Jump to Section
Introduction to Marshmallow Slime
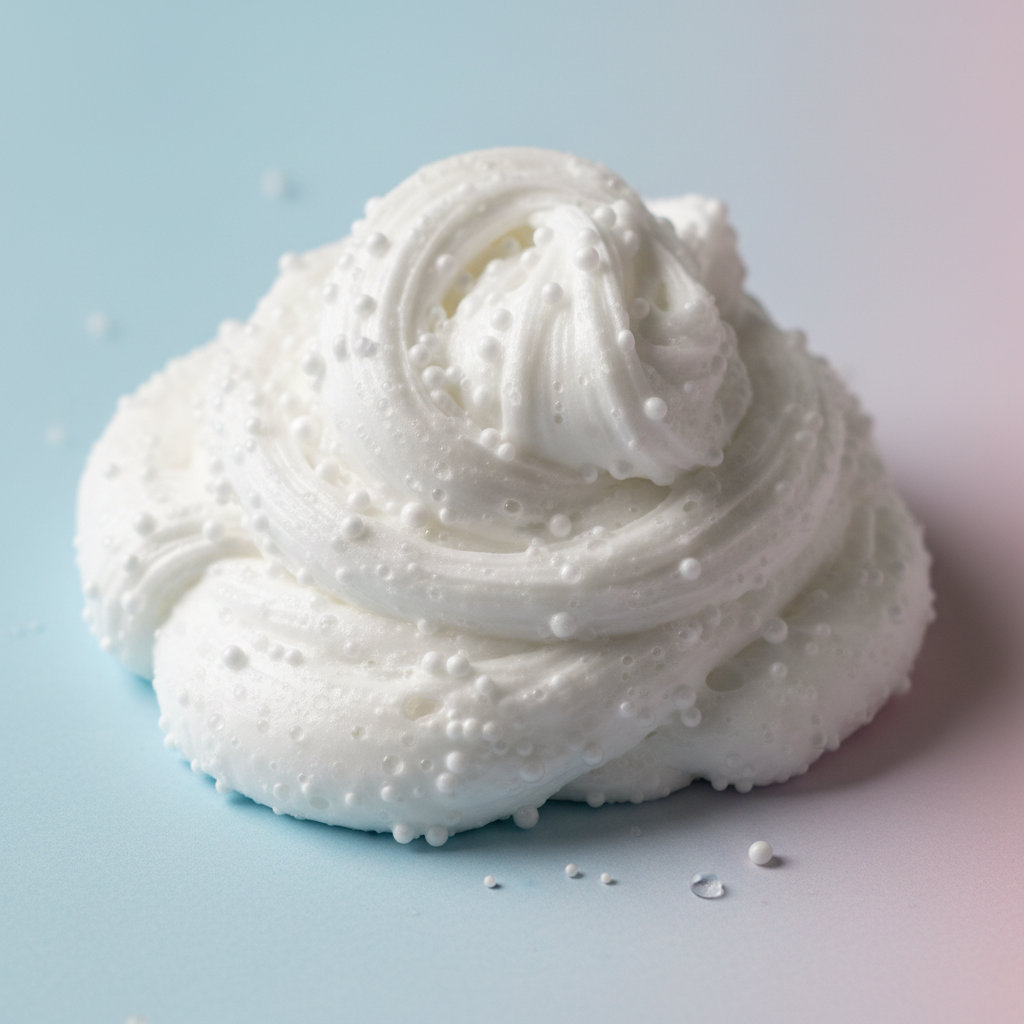
Few sensory experiences are as satisfying as the pillowy, airy texture of marshmallow foam slime. This specific variety of slime has taken the DIY community by storm because it combines the "crunch" of traditional foam slime with the "soft-serve" fluffiness of marshmallow-inspired recipes. Unlike standard slime, the marshmallow variant focuses on a matte finish and a dense, dough-like stretch that feels incredibly therapeutic to pull and squish.
Creating the perfect scented marshmallow foam slime is an art form that requires a balance of chemistry and creativity. It’s not just about mixing glue and borax; it’s about the ratios of air to liquid and the integration of micro-foam beads that provide that signature "pop." In this guide, we will walk you through the professional-level steps to creating a slime that looks, feels, and smells like a fresh bag of marshmallows.
Essential Ingredients for Marshmallow Foam Slime
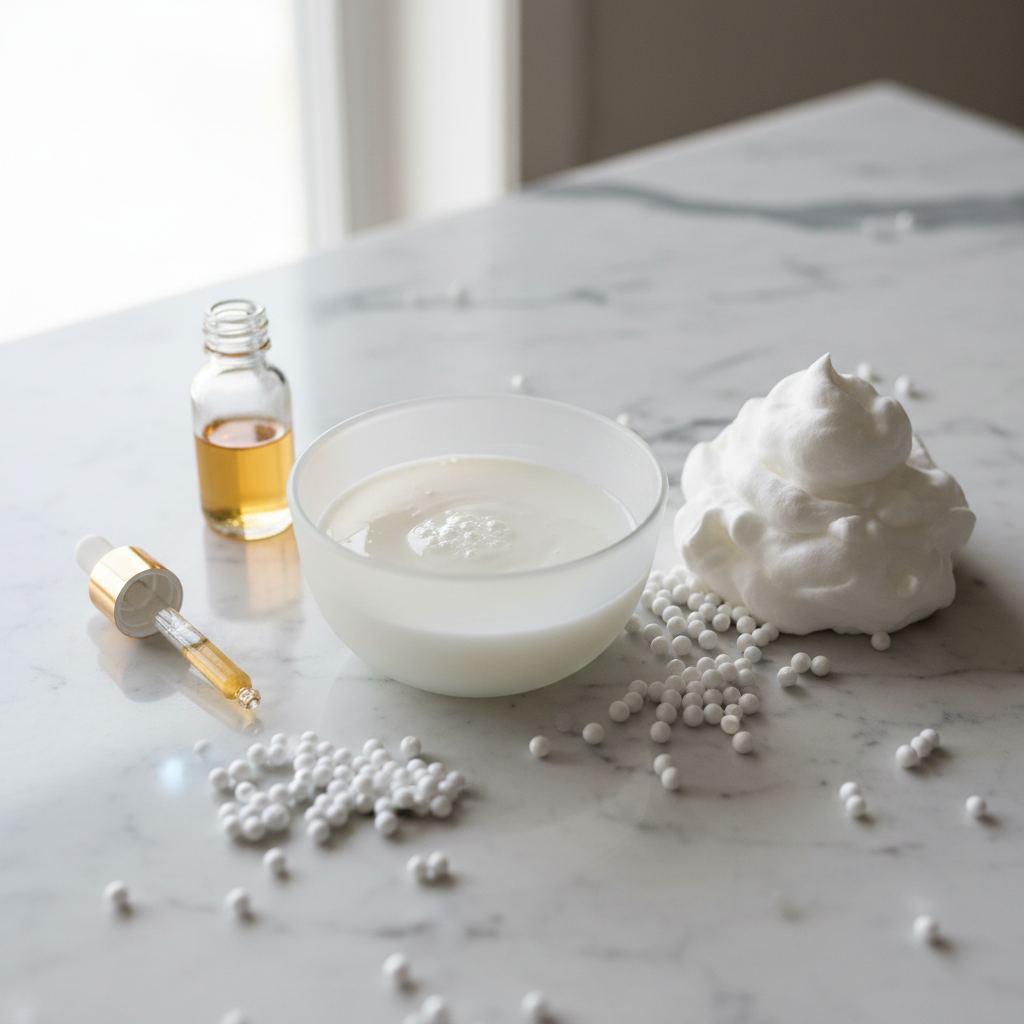
To achieve the specific texture we’re after, you cannot cut corners on your ingredients. Each component serves a purpose in building the structural integrity of the foam.
- PVA White Glue: White glue provides the opaque, doughy base necessary for the marshmallow look. Avoid clear glue for this specific recipe as it won't yield the same "creamy" appearance.
- Shaving Foam: This is the secret to the "marshmallow" fluff. Use a thick shaving foam rather than a gel for maximum air incorporation.
- Micro Foam Beads: Small, white polystyrene beads create the "foam" element. For a true marshmallow feel, look for 2-4mm beads.
- Activator: A solution of warm water and Borax (1 teaspoon per cup of water) is the most reliable activator for foam slimes.
- Fragrance Oil: Scenting is key. Look for "Marshmallow Fluff," "Vanilla Bean," or "Toasted Marshmallow" fragrance oils.
- Cornstarch (Optional): A tablespoon of cornstarch can help achieve a matte, "fluffy" finish and reduce stickiness.
Necessary Tools and Supplies
Before you begin, ensure your workspace is clean and you have the following tools ready. Slime-making can be messy, and having everything at arm's reach prevents sticky accidents.
You will need a large glass or plastic mixing bowl—glass is often better as it is easier to clean and won't stain if you choose to add color. A sturdy silicone spatula is essential for folding the foam beads into the mixture without popping the air bubbles in the shaving cream. Finally, keep airtight containers nearby. Marshmallow slime is prone to drying out if left exposed to the air for more than a few minutes.
Step-by-Step Instructions: The Foam Creation Process
Follow these steps carefully to ensure your slime doesn't become too rubbery or too sticky.
- The Base: Pour 1 cup of white PVA glue into your mixing bowl. If you are adding cornstarch, stir it in now until completely smooth.
- The Fluff: Add 1 to 2 cups of shaving foam. The more you add, the fluffier the slime will be, but be careful—too much foam can make the slime "deflate" faster over time.
- The Scent: Add 5-10 drops of your marshmallow fragrance oil. Stir well to distribute the scent throughout the liquid base.
- The Activation: Add your activator solution one teaspoon at a time. Stir slowly. The slime will begin to pull away from the sides of the bowl. Stop adding activator once the slime is no longer a liquid but is still slightly tacky to the touch.
- The Beads: Once the slime is formed but still sticky, fold in 1/2 cup of micro foam beads. The stickiness of the slime at this stage helps the beads stay locked into the structure.
- Kneading: Remove the slime from the bowl and knead it with your hands. If it's too sticky, add a drop of activator to your palms. Knead for at least 5 minutes to fully develop the marshmallow texture.
How to Scent Your Slime for a True Bakery Experience
Scenting is what elevates a basic foam slime into a premium "Marshmallow" experience. When selecting scents, it is important to distinguish between essential oils and fragrance oils. Essential oils are natural but can sometimes break down the chemical bonds of the slime, making it melt. Fragrance oils, specifically those designed for soaps or candles, are generally safer and provide a much stronger "bakery" aroma.
For a multi-dimensional scent, consider layering. A mix of "Marshmallow" and a hint of "Sugar Cookie" or "Milk" can create a more realistic scent profile. Always add your scents to the glue mixture *before* activation to ensure the fragrance is trapped within the polymer chains. This will make the smell last for weeks rather than days.
Troubleshooting Common Slime Issues
Even expert slime makers encounter issues. Here is how to fix the most common problems with marshmallow foam slime:
The "Fallout" Problem: If your foam beads are falling out of the slime, the slime is likely over-activated (too hard). To fix this, add a small amount of clear glue or unscented lotion to the slime and knead it until it becomes tacky enough to hold the beads again.
The "Deflation" Problem: All shaving-cream-based slimes will eventually deflate as the air bubbles escape. To revitalize a flat marshmallow slime, you can fold in a little bit of new shaving foam and a tiny drop of activator to bring back the volume.
Sticky Residue: If the slime leaves a residue on your hands, it needs more activation. However, instead of adding more borax solution, try adding a tiny amount of contact lens solution (which contains boric acid) for a smoother finish.
Frequently Asked Questions
How long does scented marshmallow slime last?
With proper care and airtight storage, your slime can last between 2 to 4 weeks. Eventually, the shaving cream will deflate, changing the texture from "marshmallow" to a more traditional "thick and glossy" slime.
Is this slime safe for children?
While the ingredients are common household items, slime making should always be supervised by an adult. Ensure that neither the raw ingredients nor the finished slime is ingested.
Can I add glitter to this recipe?
Absolutely! Iridescent or white glitter looks beautiful in marshmallow slime, giving it a "sugar-coated" appearance that complements the theme perfectly.