Free DIY Guide to Making Crunchy Foam Bead Slime Textures
Jump to Section
- Why Foam Bead Slime is the Ultimate ASMR Experience
- Essential Supplies for Your Crunchy Slime Masterpiece
- Understanding the Base: Clear vs White Glue
- Step-by-Step Tutorial: Creating the Perfect Crunch
- Advanced Foam Bead Ratios and Textures
- How to Fix Bead Fallout and Sticky Slime
- Frequently Asked Questions
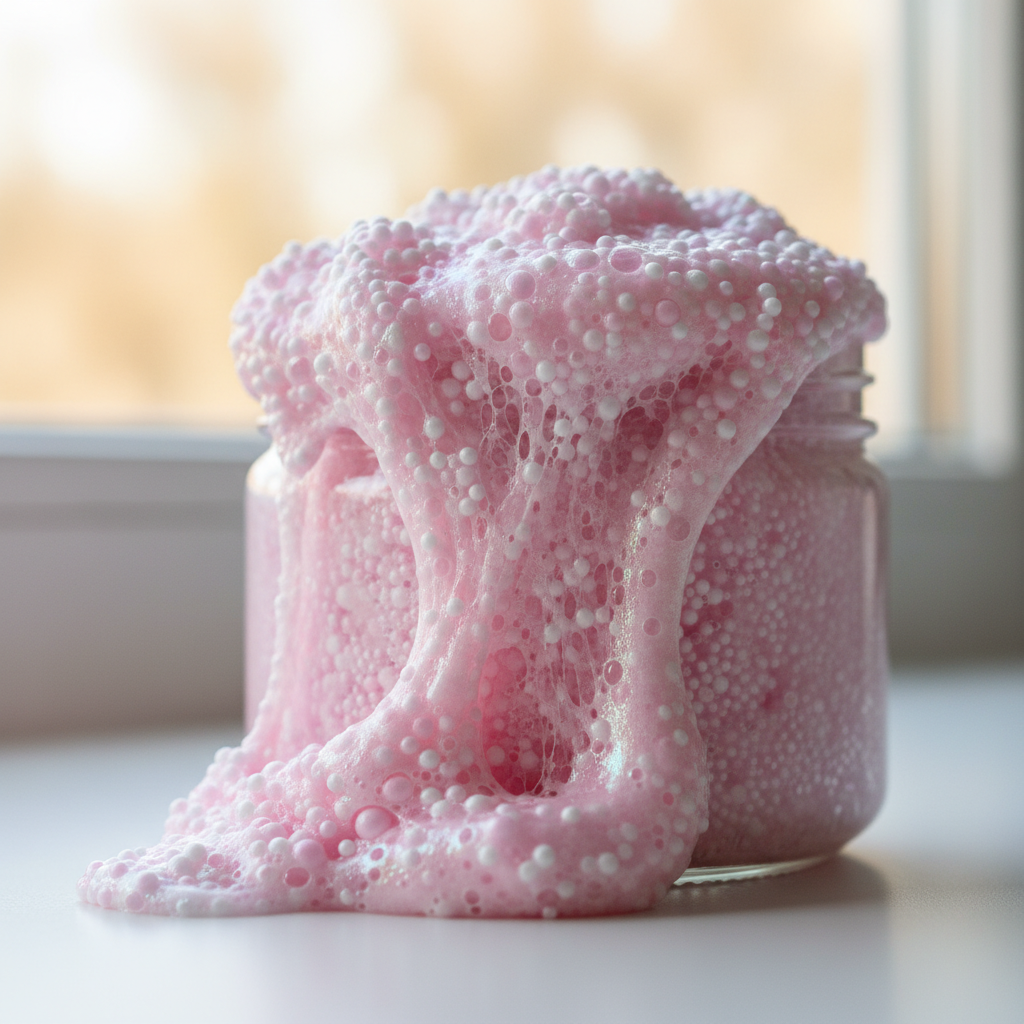
Why Foam Bead Slime is the Ultimate ASMR Experience
Crunchy slime, often referred to in the community as "Floam" or "crunchy bead slime," has taken the sensory world by storm. Unlike fluffy slime, which focuses on airy softness, crunchy slime is all about the auditory and tactile feedback. When you press into a well-made batch of foam bead slime, hundreds of tiny air pockets trapped between the beads pop and sizzle, creating a satisfying "crunch" that is the gold standard of ASMR (Autonomous Sensory Meridian Response).
The texture is unique because it provides a dual-sensation: the resistance of the beads against the elasticity of the slime base. This creates a massage-like effect on the hands, making it a favorite for stress relief and sensory play. Whether you are a seasoned "slimer" or a curious beginner, mastering the crunch is a rite of passage in the DIY slime community.
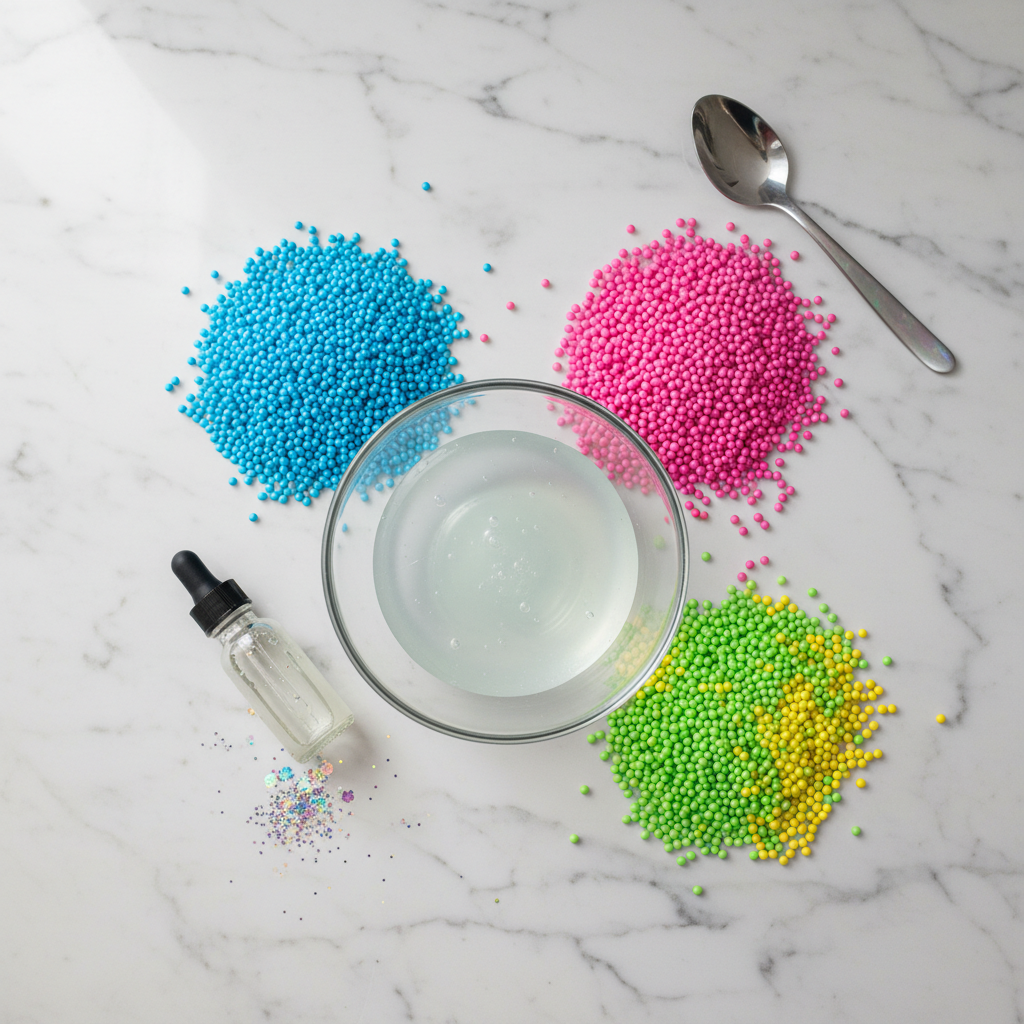
Essential Supplies for Your Crunchy Slime Masterpiece
To achieve that signature crunch without the beads falling out, you need specific materials. Not all beads and glues are created equal when it comes to "floam" textures. Here is what you will need:
- High-Quality PVA Glue: Clear glue is preferred for visual aesthetics, but white glue works for a "creamy" crunch.
- Activator: A diluted borax solution (1 tsp borax to 1 cup warm water) is the most reliable for crunchy slimes.
- Expanded Polystyrene (EPS) Beads: These are the "foam beads." You can find them in micro, small, or large sizes.
- Glycerin (Optional): To keep the slime stretchy despite the high bead count.
- Mixing Tools: A sturdy bowl and a spatula.
Understanding the Base: Clear vs White Glue
The choice of base significantly alters the final texture. If you want the beads to be the star of the show, Clear Glue is the way to go. Clear glue allows the light to pass through the slime, making the foam beads look like they are suspended in glass. However, clear glue slime tends to be "stickier" and requires more precision during activation.
White Glue, on the other hand, creates a more "doughy" or "cushiony" feel. When you add foam beads to a white glue base, the result is often called "Marshmallow Floam." It is softer on the hands and usually more durable for long-term play, though the "crunch" sound may be slightly muffled compared to the clear-based alternative.
Step-by-Step Tutorial: Creating the Perfect Crunch
Follow these steps to ensure your foam beads stay locked in the slime base:
- Pour your glue: Add 5 ounces of glue to your mixing bowl.
- Add moisture: If using clear glue, add 1-2 tablespoons of water to help the beads move within the base.
- The "Bead First" Method: For maximum crunch, add your foam beads to the unactivated glue. This ensures every bead is coated in glue, which prevents them from falling out later. Use a ratio of roughly 1:1 beads to glue.
- Activate Slowly: Add your activator one teaspoon at a time. For crunchy slime, you want to slightly over-activate the slime. A firm base holds beads better than a soft, runny one.
- Knead: Once the slime pulls away from the bowl, knead it with your hands until it is no longer sticky.
Advanced Foam Bead Ratios and Textures
The "Crunch Factor" is determined by your bead-to-slime ratio. If you want a "Full Floam," your bowl should look like it’s almost entirely beads with just enough glue to bind them. This creates a stiff, incredibly noisy texture. If you prefer a "Semi-Floam," use a 1:3 ratio of beads to slime, which allows for more traditional slime stretches and bubbles.
Don't be afraid to mix bead sizes! Combining micro-beads with jumbo foam beads creates a "multi-tonal" crunch that feels incredible and looks professional. Just remember: the more beads you add, the less "stretchy" the slime will become naturally.
How to Fix Bead Fallout and Sticky Slime
Bead fallout is the most common issue with crunchy slime. If your beads are popping out as you play, your slime is likely too deactivated or "melted." To fix this, add a tiny amount of strong activator and knead it thoroughly. The tighter the slime "grips" the beads, the better they will stay.
Conversely, if your slime is so hard that it won't stretch, add a drop of glycerin or a splash of warm water. This softens the PVA bonds, allowing the beads to slide past each other without tearing the slime base apart. Always store your crunchy slime in an airtight container, as foam beads can accelerate the drying process by increasing the surface area exposed to air.
Frequently Asked Questions
Why do my foam beads keep falling out of my slime?
This usually happens because the slime base is too soft or under-activated. Foam beads need a firm, slightly over-activated base to stay "locked" in place. Try adding a small amount of activator.
Can I use bean bag filler as foam beads?
Yes! Bean bag filler is typically made of the same expanded polystyrene and works perfectly for DIY crunchy slime, often at a much lower cost than craft store beads.
How long does crunchy foam slime last?
With proper care and clean hands, it can last 2-4 weeks. Eventually, the foam beads may shrink or the slime may dry out due to the air trapped between the beads.